# How to push notification "Firebase Cloud Messaging" using CDP 365
## I. Create a Firebase project
### 1. Create a project
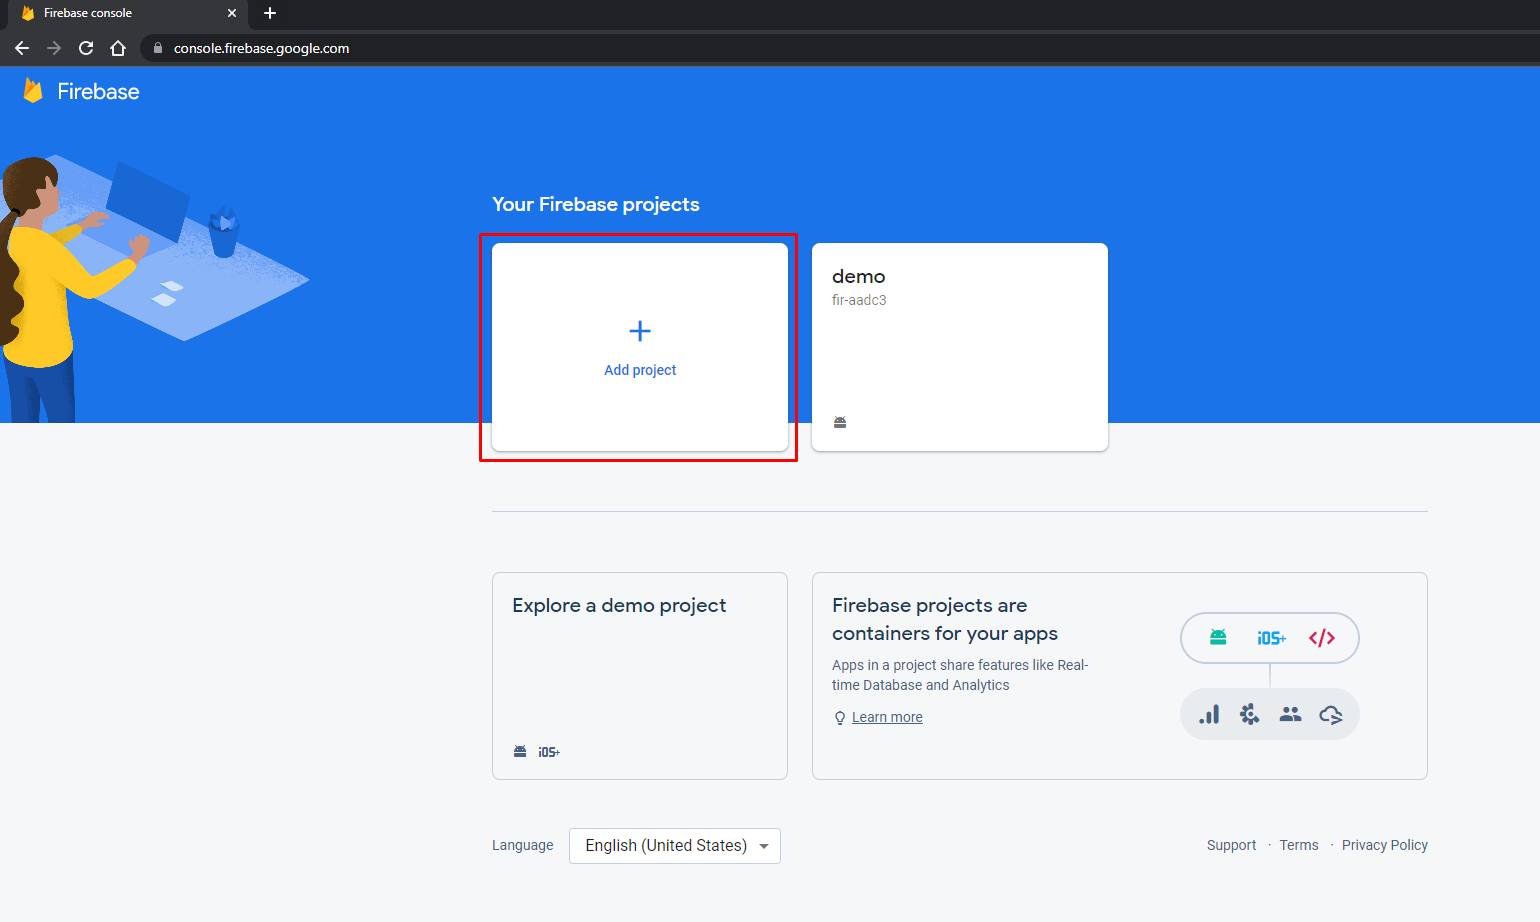
#### - Log in [Firebase](https://console.firebase.google.com/) and create a new project
Add new project
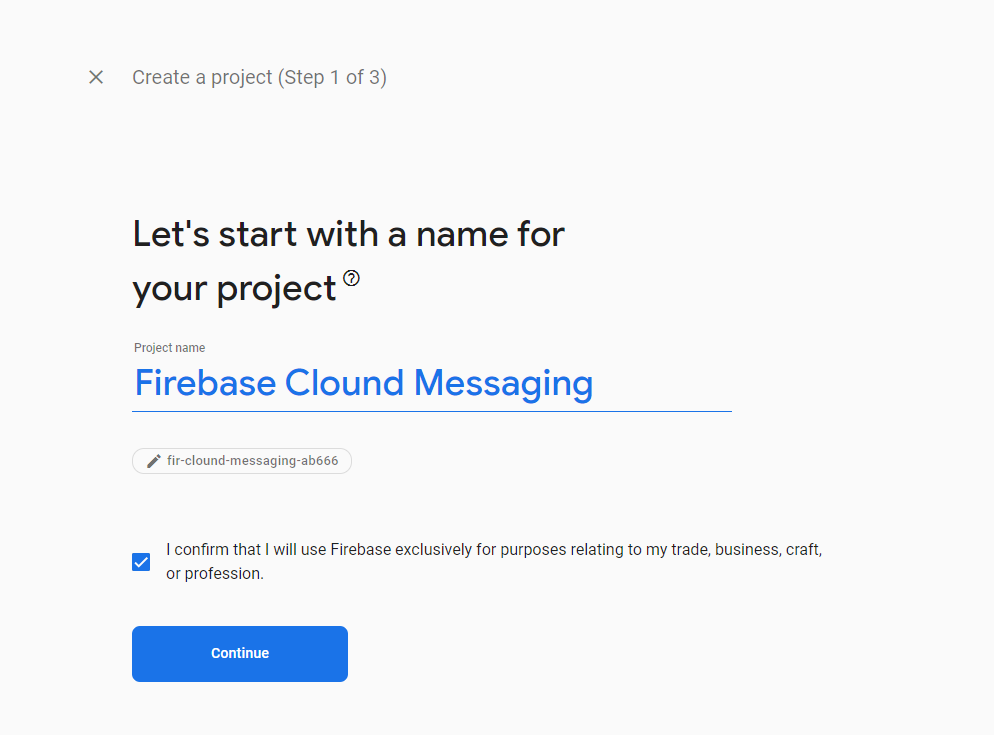
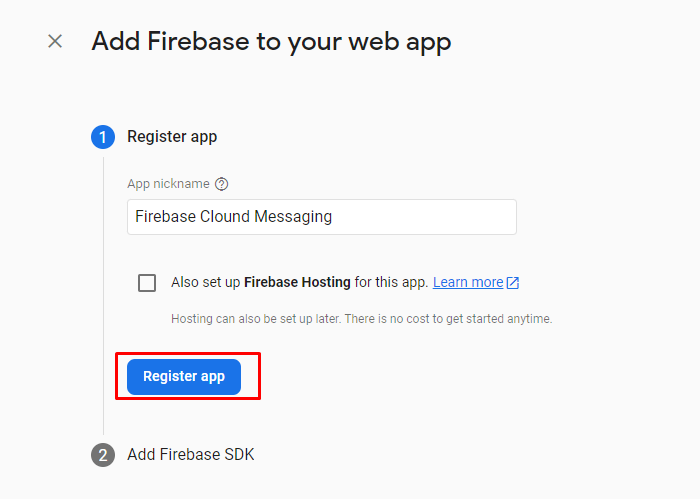
#### - Enter the name of project and click "Continue"
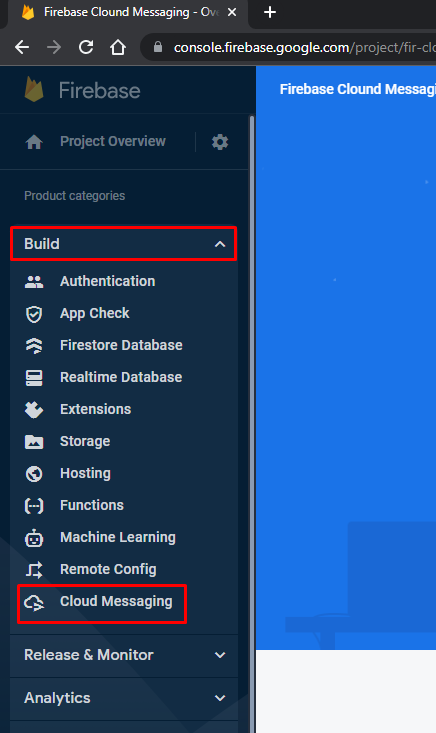
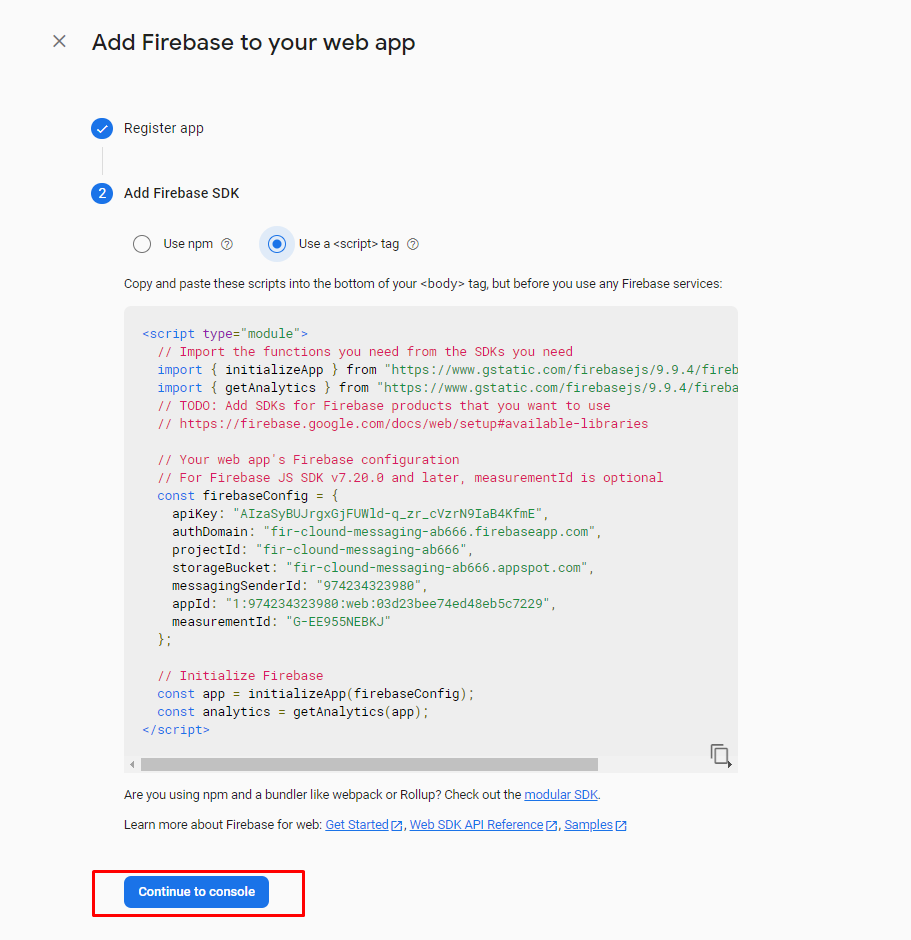
### 3. Add script to source code of website
#### - Copy and paste these scripts into the bottom of your \ tag
```
```
#### - Add file in source firebase-messaging-sw\.js (located in public/global folder)
```
importScripts('https://www.gstatic.com/firebasejs/7.16.1/firebase-app.js');
importScripts('https://www.gstatic.com/firebasejs/7.16.1/firebase-messaging.js');
var firebaseConfig = {
*firebaseConfig*
};// Initialize Firebase
firebase.initializeApp(firebaseConfig);
const messaging = firebase.messaging();
messaging.onBackgroundMessage((payload) => {
console.log('[firebase-messaging-sw.js] Received background message ', payload);
const notificationTitle = payload.notification.title;
const notificationOptions = {
body: payload.notification.body,
};
return self.registration.showNotification(notificationTitle, notificationOptions);
});
self.addEventListener('notificationclick', event => {
console.log(event)
});
```
#### - \*firebaseConfig\* is the data of [firebase config](#firebase-config) in section 2
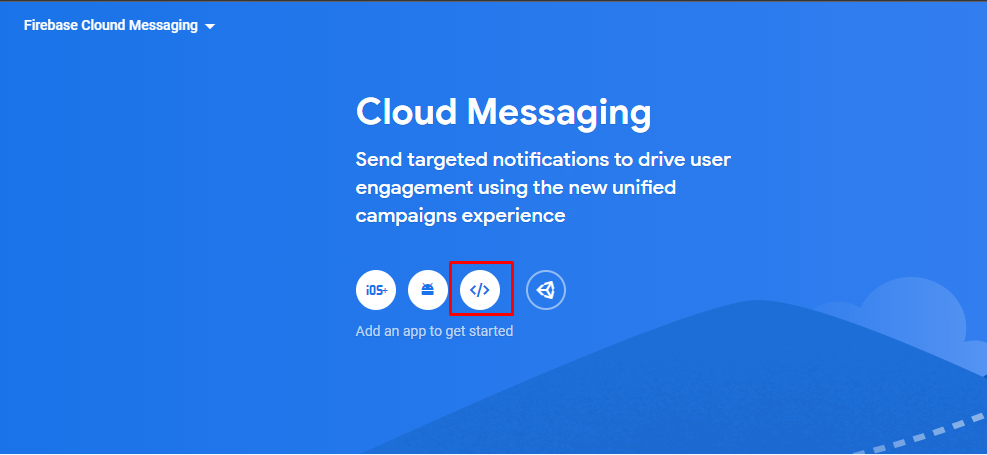
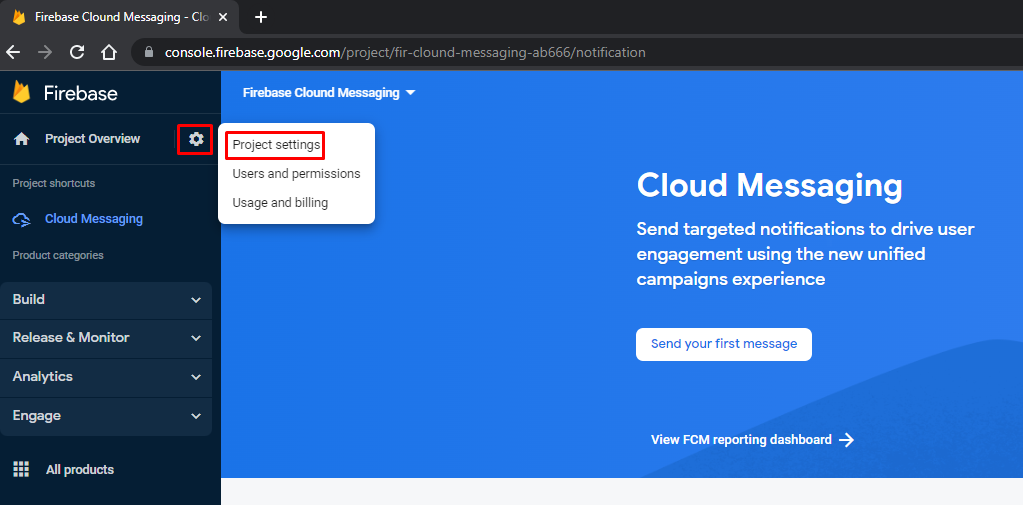
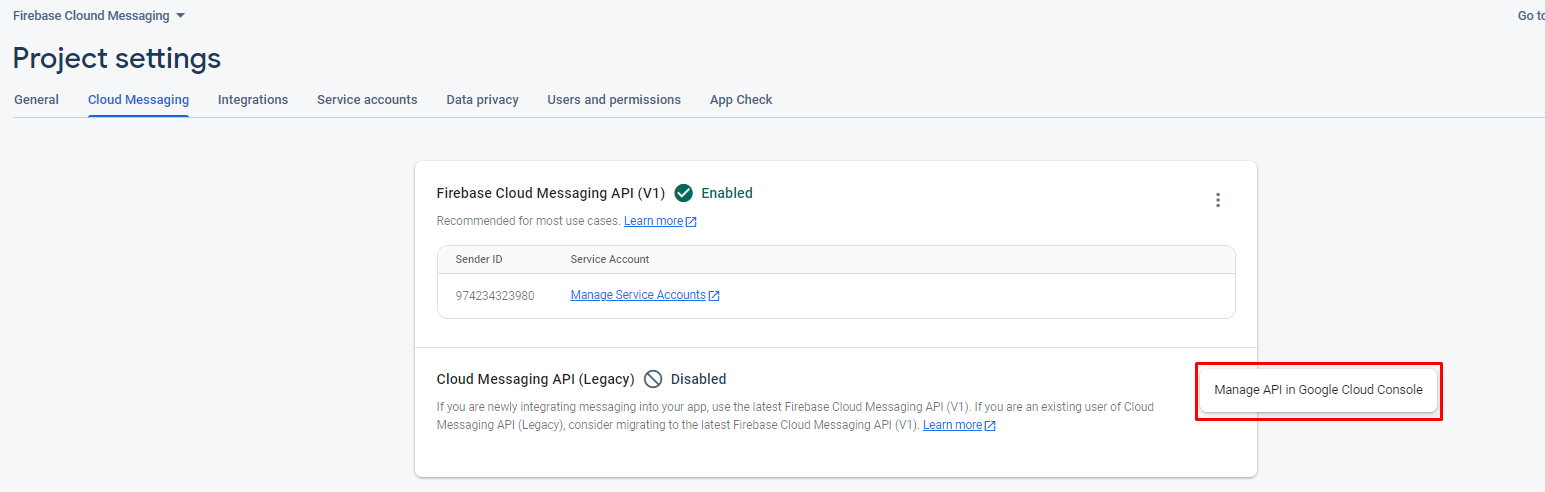
## II. Create destination "Firebase Cloud Messaging"
### 1. Hover your mouse over Settings and go to the Channel Integration menu
### 2. Click + button and select Web Push
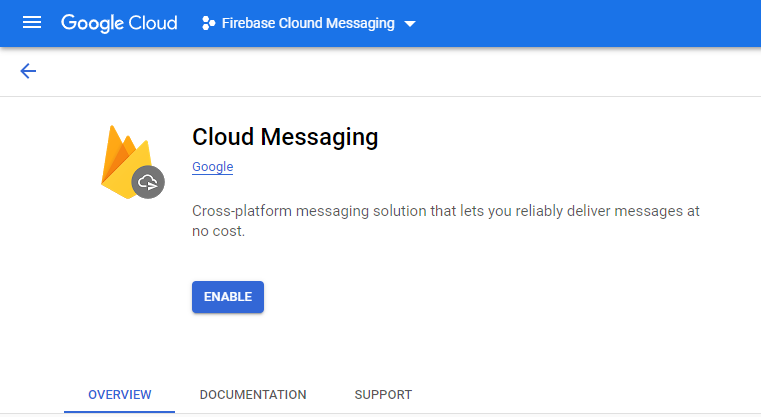
### 3. Select Destination catalog: Firebase Cloud Messaging
* **Server Token**: we can copy server token as instruction in [previous section](#after-that-we-have-the-data-of-server-key)
#### - Get To Client Tokens
* Visit the website, press F12 and go to Console to get **To Client Tokens**
To Client Tokens
* Copy **To Client Tokens** and paste to destination setting
* Click **Save** to save destination
#### Note: After client finish creating Firebase Cloud Messaging, Antsomi team will collect the data and update To Client Tokens attribute in CDP system.
## III. Push "Firebase Cloud Messaging" notification via Journey
### 1. Hover your mouse over Marketing and go to All Channels menu
* We have 2 channels that supporting to send **Firebase Cloud Messaging**. These are **Web Push** and **Orchestration**
### 2. Click + button to Create Journey, add Destination node and select Firebase Cloud Messaging destination
* Fill in the required information
* Click **Save** to finish
### 3. Click Activate to activate the journey
---
# Agent Instructions: Querying This Documentation
If you need additional information that is not directly available in this page, you can query the documentation dynamically by asking a question.
Perform an HTTP GET request on the current page URL with the `ask` query parameter:
```
GET https://docs.antsomi.com/cdp-365-user-guide-en/use-cases/marketing-hub/how-to-push-notification-firebase-cloud-messaging-using-cdp-365.md?ask=
```
The question should be specific, self-contained, and written in natural language.
The response will contain a direct answer to the question and relevant excerpts and sources from the documentation.
Use this mechanism when the answer is not explicitly present in the current page, you need clarification or additional context, or you want to retrieve related documentation sections.